By: Gren
Making a small 1 v 1 Skirmish Map
OK, lets make a small map step-by-step.
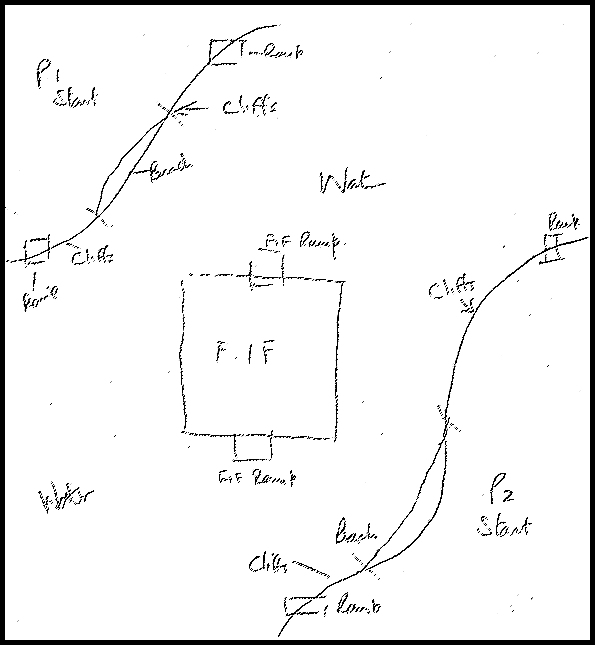
As an example walk-through to create a small map, using most of the above tools, we are going to make a 1 v 1 Skirmish map, with a water division between bases and a small Floating Island Fortress for Capture & Defend.
Its a good idea to have a reasonable idea of what you are trying to make before kicking up Worldbuilder and trying to jump in head-first, so I would normally sketch out a rough idea of what the map will be like and jot some basic ideas down of what I want in there:
Rough Design Sketch
Top
With Worldbuilder open, select File ->New or click on the New icon:  you will be presented with the New Map Dialogue window:
New Map Dialogue Window
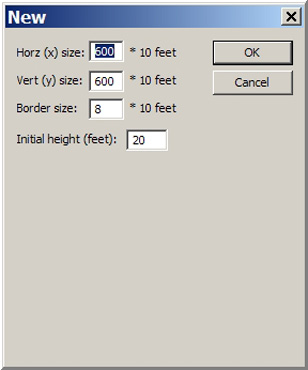 This is where we set the size of the map, the border size and the initial height of the terrain map-wide.
The sizes that are presented as default are usually not the size that you want, but each time you create a map, the last sizes are remembered.
With our small map we will make a 300x300 map, (3000x3000 feet) with a border of 10 (100 feet) and 20 (20 feet) initial height. Enter those details into the dialogue fields and click the OK button.
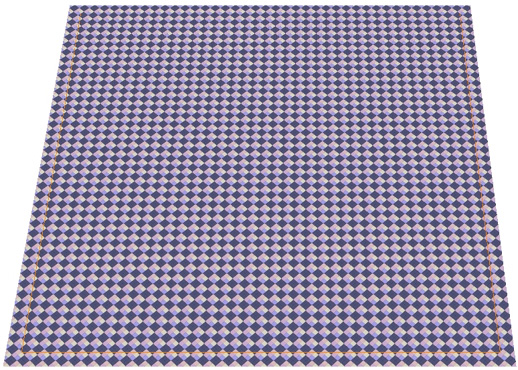
The map area is re-sized and fully zoomed in. Using the mouse wheel, zoom out until you can comfortably see the edges of the map area.
You will notice a yellow line drawn in a square around the inner edges of the map. This is the border (we set this at value 10 or 100 feet) in the New Map Dialogue. The yellow line is where the visible area of the map ends when in-game, fading the map edge out to darkness.
Now my first task would be to find the center of the map, so that we can make our small Floating Fortress, more or less in the middle. Easily done at this stage using the currently displayed checkerboard style grid. Find the center and mark it with a texture.
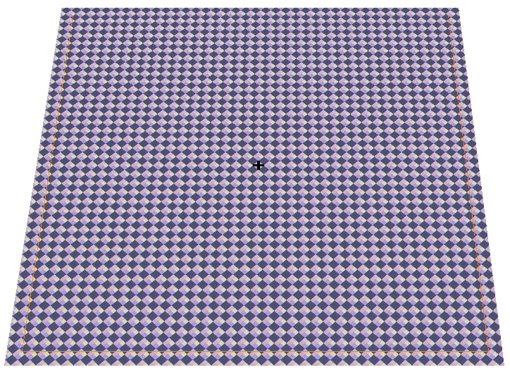
Use the Texture Single Tile tool  to do this, selecting any texture from one of the palette folders displayed in the Terrain Material Options. It isn't too important what you use as long as you can mark the center of the map.
Top
Terrain Material Options View
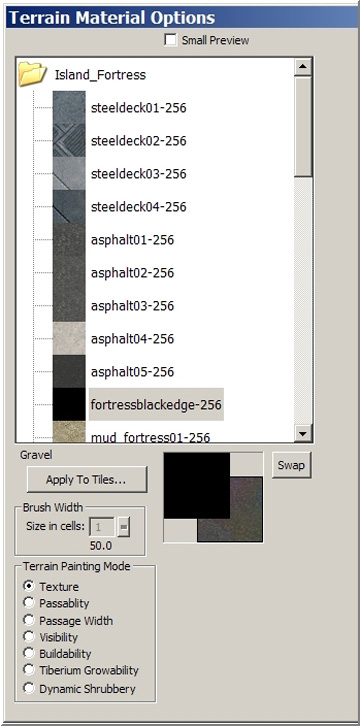 The Terrain Material Options palette will appear in place of the Object Properties Dialogue each time a Texturing tool is selected.


The textures are stored in folders categorized under different terrain environments within the tool palette itself.
We will touch on more of the Terrain Material Options as we progress through our Map example.
Top
Saving A New Map
Now, having set up the very basics and marked the center, we want to save our work so far, giving our map a name.
Do not simply hit the Save icon when saving a new map. This will overwrite the basic template for when you want to load Worldbuilder the next time.
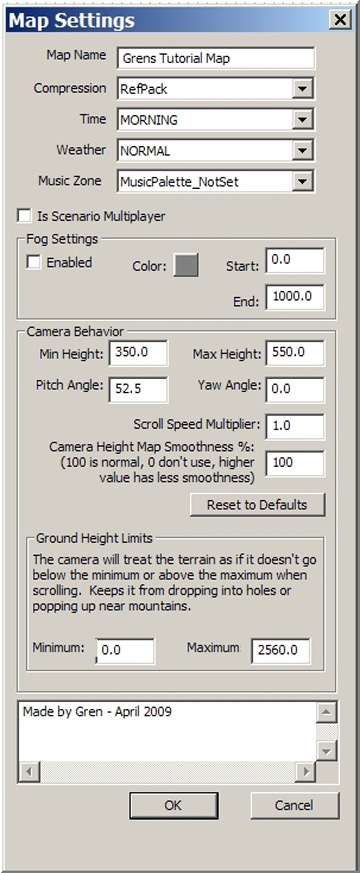 To give our example map a name, we need to select: Edit -> Edit Map Settings. The Map Settings dialogue will open:
Type the name for the new map in the Map Name field. In this dialogue you can also set the Time of day for the map:
Morning
Afternoon
Evening
Night
Set the Weather Conditions:
Normal
Cloudy
CloudyRainy
Sunny
Snowy
Leave the camera settings at default.
I have also made a note at the very bottom of the dialogue window to say that I made this map and when. So you may enter your details in there if you wish or any other notes technical or otherwise.
For saving the new map for the first time, choose File -> Save As.
The Save Map As dialogue will open, in the correct save folder for the game to load from.
Type the map name exactly as you have just named the map in the Map Settings dialogue and click OK.
Further and future progress in developing the map can now be saved easily by simply using the Save icon on the toolbar: 
Top
The Player List
All items placed into a map have to be assigned to a player, so the next step we need to take is to initialize the map with a set of possible or selectable player set. If we begin to place objects on the map before we do this task, Worldbuilder will usually prompt you to assign the object to a player. Occasionally, you will not receive a prompt to do this, but the next time you load the map into Worldbuilder, you will probably be presented with an "Invalid Teams Error" accompanied by prompts to help repair the problem. We can easily avoid this error before attempting to place any objects on the map by selecting Edit -> Edit Player List or [CTRL+Alt+P].
This will display the Player List dialogue:
Click on the Add Skirmish Players button indicated at the very bottom of the dialogue window and the map will automatically be initialized with the player set. Click the OK button and the dialogue window will close.
It may be a good idea at this point to save our work thus far.
Top
» Next ~ Starting The Floating Island Fortress