By: Gren
Adding Cliff Objects.
Now that we have seen how to add water to the map, for this next step of demonstrating how to add RA3 Cliff Objects, we need to temporarily hide our body of water.
Select the View option and uncheck the Show Water option by clicking it once.
For this tutorial we will be using the Yucatan Cliff Objects set. I find it easier to place a set of objects onto the map, which can be copied when required for placement, rather than having to revisit the Objects list each time.
So, select the Place Objects tool  from the toolbar and in the Object Selection Opts window, use the sidebar scroller to locate the YUCATAN_YU region.
Expand the Region by clicking on the + sign to the left of it, and again next to the OPTIMIZED_PROPS option.
Select one of each:
YU_SeaCliffWall09
YU_SeaCliffWall10
YU_SeaCliffWall11
YU_SeaCliffWall12
YU_SeaCliffWall13
YU_SeaCliffWall14
YU_SeaCliffWall15
and place them where we can see them on the un-textured sea floor.
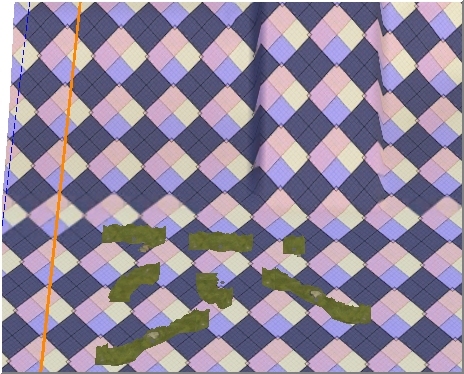
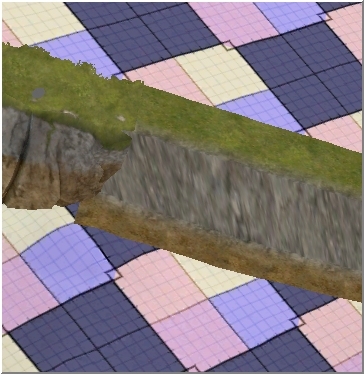
We probably may not use some of the objects, but I like to have them to hand if I'm working on a large section of cliff. Select a section of cliff by using the Select and Move tool and clicking once on the section’s icon. (the small grey dot) Use CTRL+C to copy the section into the tool then use CTRL+V to hang the section off the end of the tool.
 I selected YU_SeaCliffWall14 and want to place it to the left of the southern terrain ramp on the North Island.
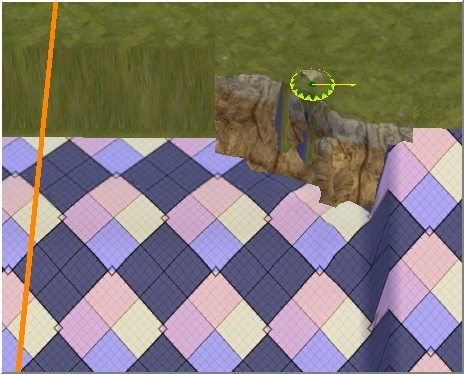
Left click to place the section, and then use the rotation feature within the highlighted icon to set the final position.
Trim off the excess terrain showing through by using the Height Brush; Brush Width 2, No Feather and with a height of 130. (the height of the shelf we placed around the island)
Continue choosing cliff sections, copying and pasting, using the rotation option for positioning and trimming the excess terrain, for the rest of the island, apart from the beach area, which we will enhance with some texture-work.
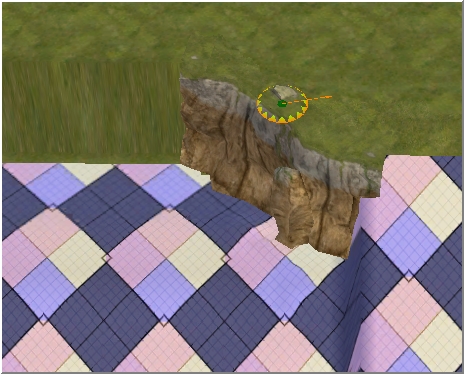 You can either choose to put all the sections in position first and then do the terrain trimming, or trim each section as you work.
You will soon settle to your own style or preference.
Also as you work, rotate the whole map slightly (left then right) and inspect the edges of the cliff sections to ensure the joints are correctly married together.
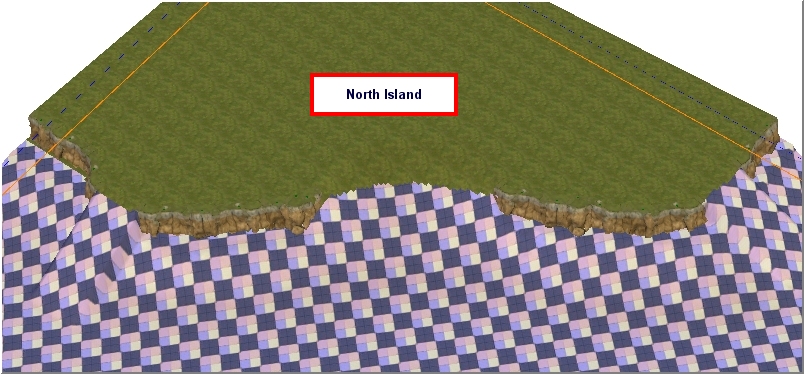
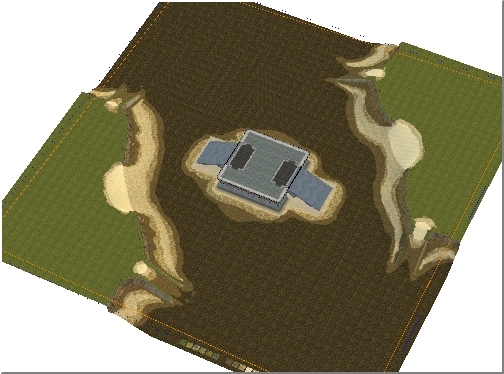
This step is probably one of the most time consuming stages of creating a map for RA3, but it is well worth the effort to have your map enhanced with real 3D-type cliff objects, which can be as well made and presentable as some of the official, professional looking maps.
View of North Island with RA3 Cliff Objects
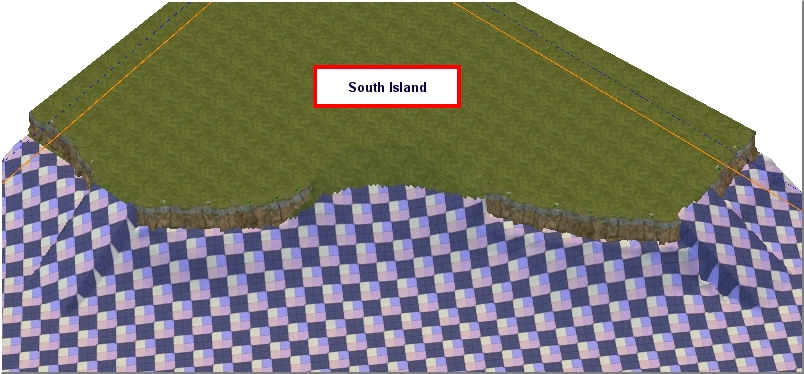
View of South Island with RA3 Cliff Objects
Top
Basic Texturing – The Sea Floor
The idea here is not to produce a great work of art but to merely demonstrate what can be done using the RA3 texturing toolset. Although at the end of the tutorial, we should have a presentable map that will load into the game and will be playable, it will be up to yourself to practice these hints and tips until you become fairly expert with them.
You may find easier ways of doing things as you use all the tools in the RA3 Worldbuilder, as can be said for this Basic Texturing section.
Apart from the areas around the islands and our Island fortress in the centre of the map, the sea floor is pretty much flat. Some mappers, as they produce more maps and gain knowledge and confidence with the tools, may decide, for example, to use the Dig, Mound and Height brushes, together with the Smooth Height tool, to produce a very realistic looking sea floor.
You can practice different techniques with these tools and experiment with mounds and troughs on the sea floor, enhancing them with texturing.
So for our basic texture, I'm going to choose a dark mud to paint the bulk of the sea floor.
Select the Large Tile  texture tool from the toolbar and from the Terrain Material Options dialogue, open the Havana folder and select mud_havana01-256.
Paint the whole of the sea floor area that is flat, allowing a small margin around the raised areas surrounding the three islands. Take a little artistic licence when doing this; try shaping around the island a little, following the island contour, or even be inventive.
Textured Sea Floor
Top
Create Yourself a Texture Palette
 Now that we have covered most of the flat area of the sea floor with the basic texture, we can find a convenient place on there to create a texture palette. The palette will consist of the textures we will be using for the map and will save us a little time by having them to hand instead of searching the Terrain Material Options folders each time we need to use a texture.
So for our map, we will be using:
grass_yucatan02-256
grass_yucatan03-256
grass_yucatan04-256
grass_yucatan05-256
grass_yucatan06-256
grass_yucatan07-256
mud_havana01-256
mud_havana02-256
reef_havana02-256
dirt_yucatan02-256
dirt_yucatan03-256
dirt_yucatan04-256
rock_yucatan01-256
rock_yucatan03-256
Still using the Large Tile texture tool, select each of these textures from the Terrain Materials Options folders and place a single tile of each texture in a convenient place on the map. I usually use the space between the Border line and the Water boundary at the edge of the map. The textures are easily accessed from here when needed by using the Eyedropper tool.
Texturing The Island Ramps
There are a couple of ways to enhance the ramps we have on the player island bases. We can use a rock effect texture to paint the sides of the ramp, or we can use a cliff object. I will demonstrate both, so that you can choose between them, or indeed, use in combination.
With the Place Object tool, select YU_SeaCliffWall11 and place it on the map near the top of the ramp. In the Object Properties dialogue, check the option Align to terrain.
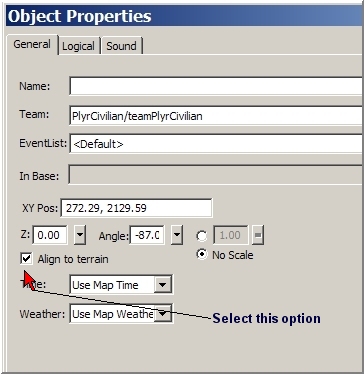
As we drag the cliff object over the ramp, you will notice that it changes its alignment properties, in line with the edge and the slope of the ramp. Use the rotation facility on the object icon to line up with the direction of the ramp. Positioning the cliff object can be time consuming and maybe a little tedious, but the result gives us continuity of the cliff into the sea.
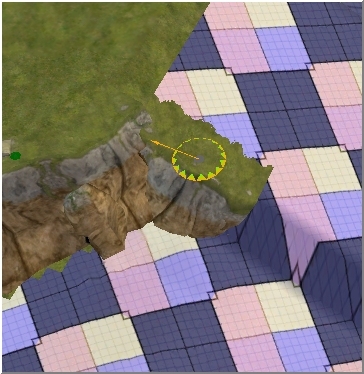
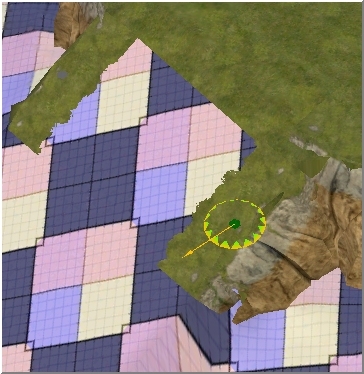
With the cliff object still selected, press CTRL+C to copy it into memory, then press CTRL+V to hang it on the end of the Select and Move tool. In the Object Properties, remove the value in the Angle: field and enter a value of 180.
This will completely rotate the cliff object so that we can position it at the top of the other ramp edge in parallel.
You may wish to continue copying each object and positioning them along the edges of the ramp until you reach the point where they disappear into the sea floor. However, I think that it would be wasted effort, having achieved the desired effect at the waters edge; the other objects would be submerged and not clearly seen.
Painting the ramp edges with a rock-type texture is much of an easier task and blended well, can produce good effects too, but not as good as using objects. I will demonstrate this, using the same ramp on our map, without removing the cliff objects, so that you can see the two methods together and assess which effect you will use, or whether to use them both in conjunction with each other.
Select the Eyedropper tool from the toolbar  and from our palette at the side of the map, choose rock_yucatan01-256. (The terrain materials options list automatically displays the texture you choose, so you can check quickly if you have the right one)
Now select the Single Tile Texture tool  and carefully paint down the side of the ramp until the tile on the brush is almost flat to the sea floor:
I will add some textures and blending to show the effect. What I did here was to place a few strips of grass_yucatan02-256 on top of the ramp using the Single Tile texture tool.
 Paint a few strips of mud_havana02-256 below the rock texture.
Selected the Auto Edge Out tool  from the toolbar and clicked on the rock texture.
This automatically blends the edges of the rock texture with the edges of both the grass and the mud textures.
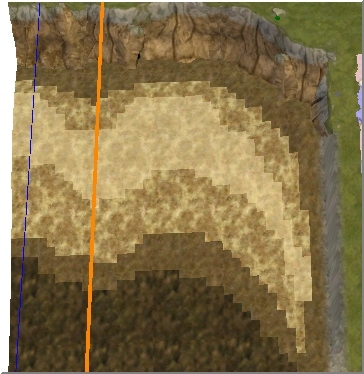
Now I'm going to texture the small area to the left of the ramp and I think for this sloped region, we will try to create the impression of layers of mud, silt and rock.
Still using the Single Tile texture tool, we put down strips of:
mud_havana02-256
dirt_yucatan02-256
dirt_yucatan04-256
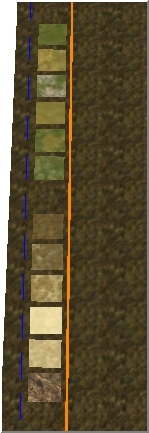
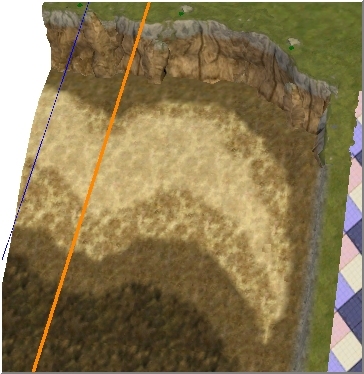
Follow the contour of the island and lay down mud next to the base of the cliff to obtain an effect that runs from a darker texture, to a lighter texture, then back to a darker texture:
 Layer 1 = mud_havana02-256
Layer 2 = dirt_yucatan02-256
Layer 3 = dirt_yucatan04-256
Layer 4 = dirt_yucatan02-256
Layer 5 = mud_havana02-256
Bring the sea floor texture into the contour.
Now use the Auto Edge Out tool on each texture starting at the base of the cliff and work towards the sea floor.
Single click in each texture to auto blend, but do NOT use the tool on the sea floor texture at this stage because the tool will blend all adjoining tiles of the texture in the map. (Including our texture palette)
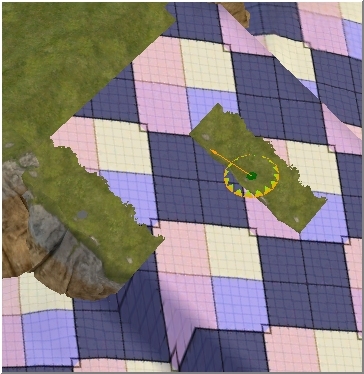
Your finished blending should look similar to this:
Continue laying down the textures for the rest of the island using a similar layer pattern. Enhance the beach landing area and the tops of the access ramps using texture dirt_yucatan03-256.
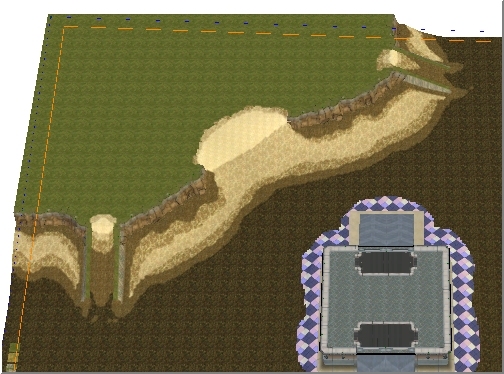
Now save your work.  Then we need to do the same on the southern player island.
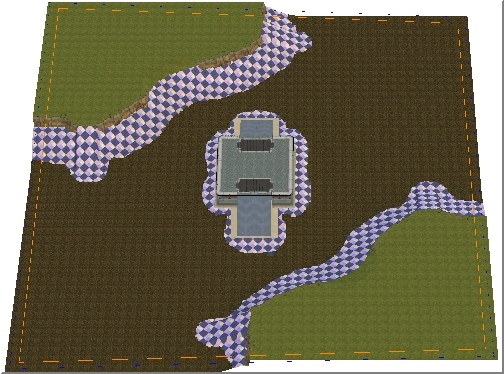
Save your work again when the island is finished and continue to texture around the central Fortress. Begin with a darker texture, working inwards, ending with your lightest texture immediately around the Fortress itself.
Blend all textures. Save your work.
Top
» Next ~ Detailing The Island Bases